How to Transfer Photos to Your MobiGo® 2
Step 1
If you have not already registered your MobiGo ® 2 on Learning Lodge™ , you need to do so before trying to transfer your photos.Please confirm that your MobiGo ® 2 is registered on Learning Lodge™ OR, if it is not, reference the VTech tutorial, "Registering Your MobiGo ® 2 on Learning Lodge™ " before continuing.
Step 2
Use the USB cable to connect your MobiGo ® to the computer. To connect the MobiGo ® , first open the USB door cover on the bottom of the unit, and insert the small end of the USB cable.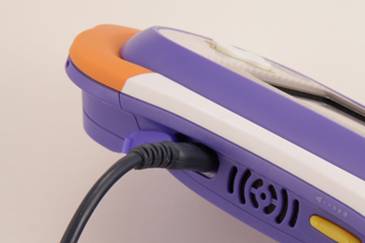
Step 3
Connect the other end of the cable to your computer's USB port.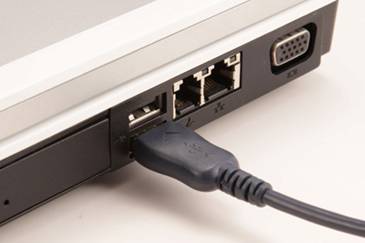
Step 4
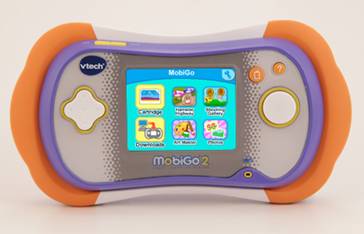
Make sure that your computer is connected to the internet, and turn the MobiGo ® on. Learning Lodge™ will automatically launch.
Step 5
Click on your child's profile underneath the MobiGo ® image on the Learning Lodge™ home page.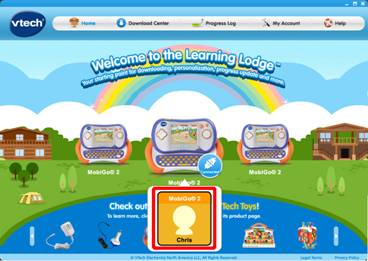
Step 6
This will bring you to the MobiGo ® 2 home page. Select File Manager from the menu on the left. 
Step 7
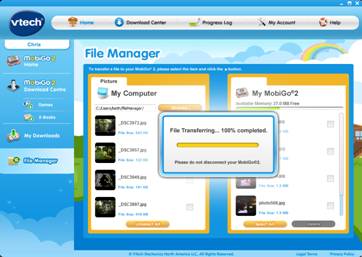
The File Manager can be used to transfer photos to and from your MobiGo ® 2. Photos on your computer will be shown on the left. Photos on your MobiGo ® 2 are shown on the right.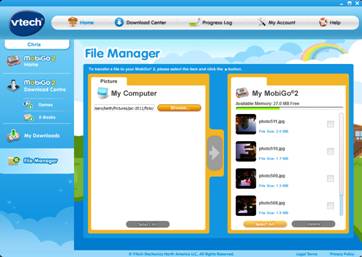
Step 8
To locate the photos on your computer click the Browse button.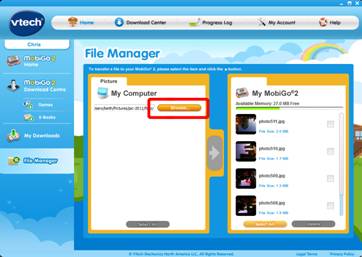
Step 9
This will open a dialog box. Navigate to the folder that your pictures are in. Select the folder and click OK to open it.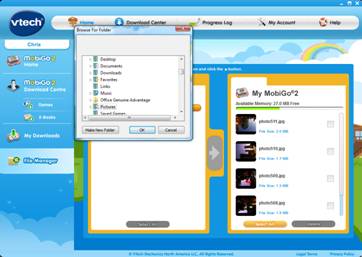
Step 10
The pictures in the folder you selected will appear on the left. Check the boxes next to the pictures you want to transfer. Then click the right arrow.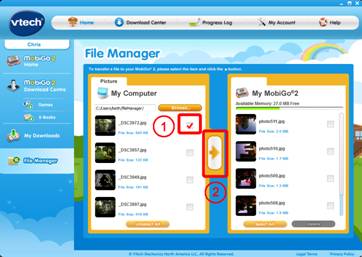
Step 11
When the transfer is finished you can disconnect the USB cable. Select Photos from the MobiGo ® 2's main menu to enter the photo viewer. Enjoy your photos!